Classes
Laura Fogg Art Quilt Classes
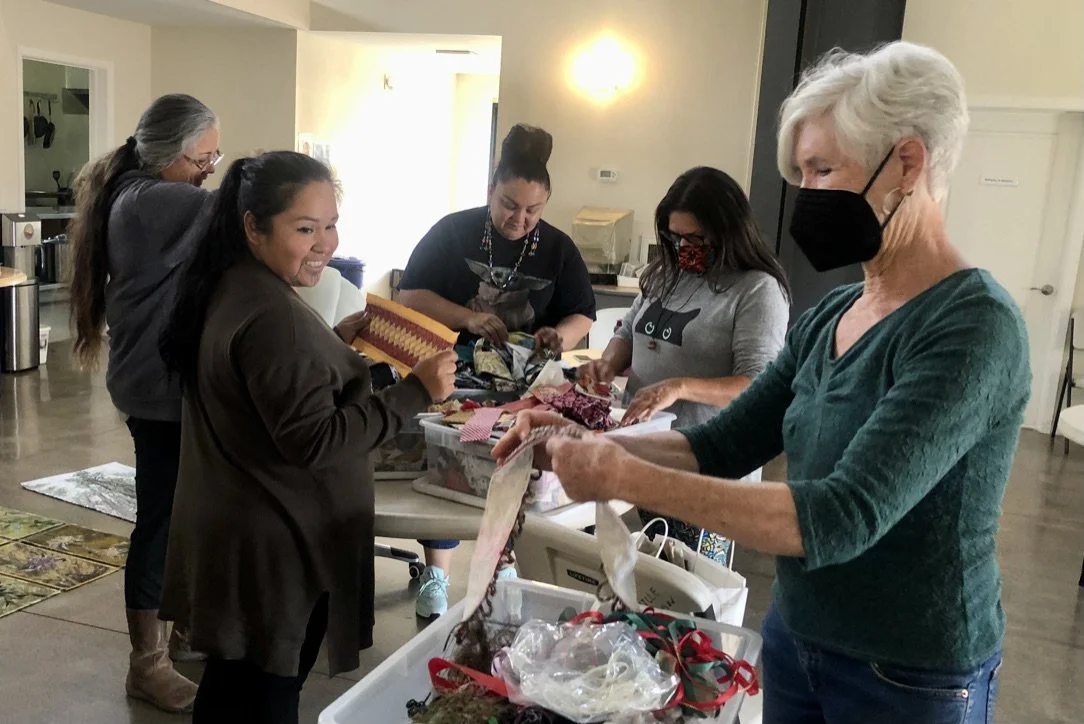
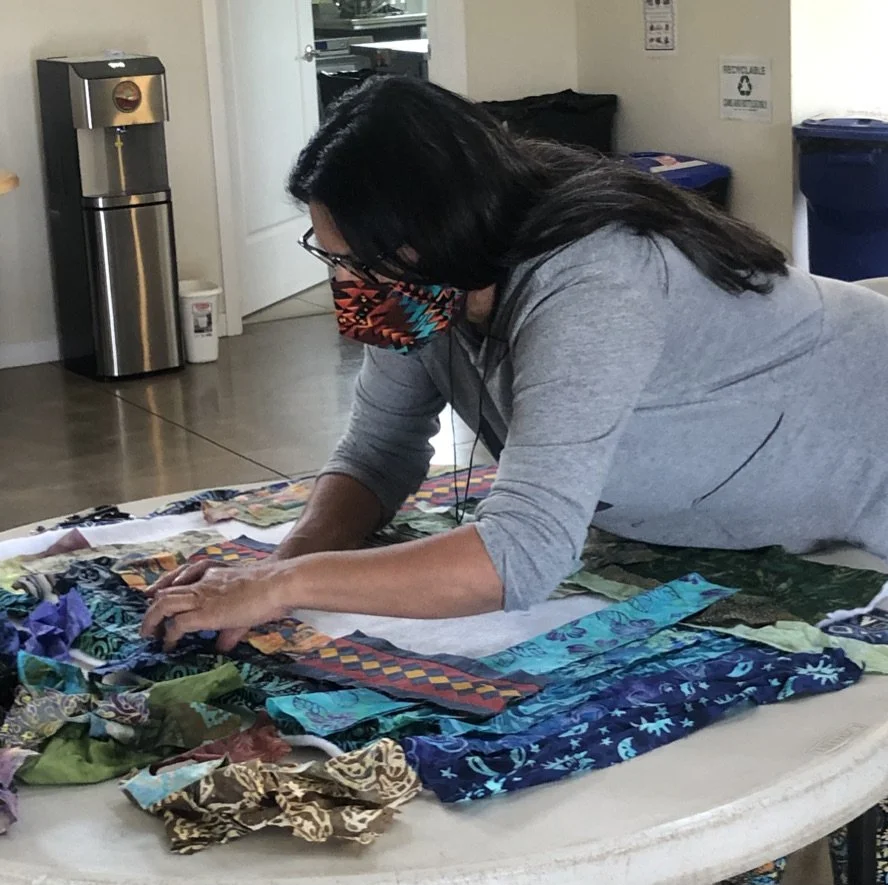
Now that COVID restrictions have eased a bit, I’m back to teaching in-person classes to groups of students who are all vaccinated.
I am happy to consider teaching for a quilt group, an art center or a group of friends within a reasonable driving distance from Ukiah CA. I do not set up my own classes, but will work with any organization to create a program that meets their needs. The organization provides the space with tables and chairs necessary to accommodate the agreed-upon number of students, in addition to publicizing the class to their group and dealing with fees and payments including hosting me.
I have had considerable experience teaching classes that range from one day to five days. It is possible to do a one-day class, but students frequently leave frustrated that they didn’t have time to finish their pieces or explore the technique as much as they wanted. Two-day classes are by far more successful, and I highly recommend going that route. I have also taught at a number of multiple-day retreats, which is the ultimate way to go if there is the time and space available.
class outline and materials list:
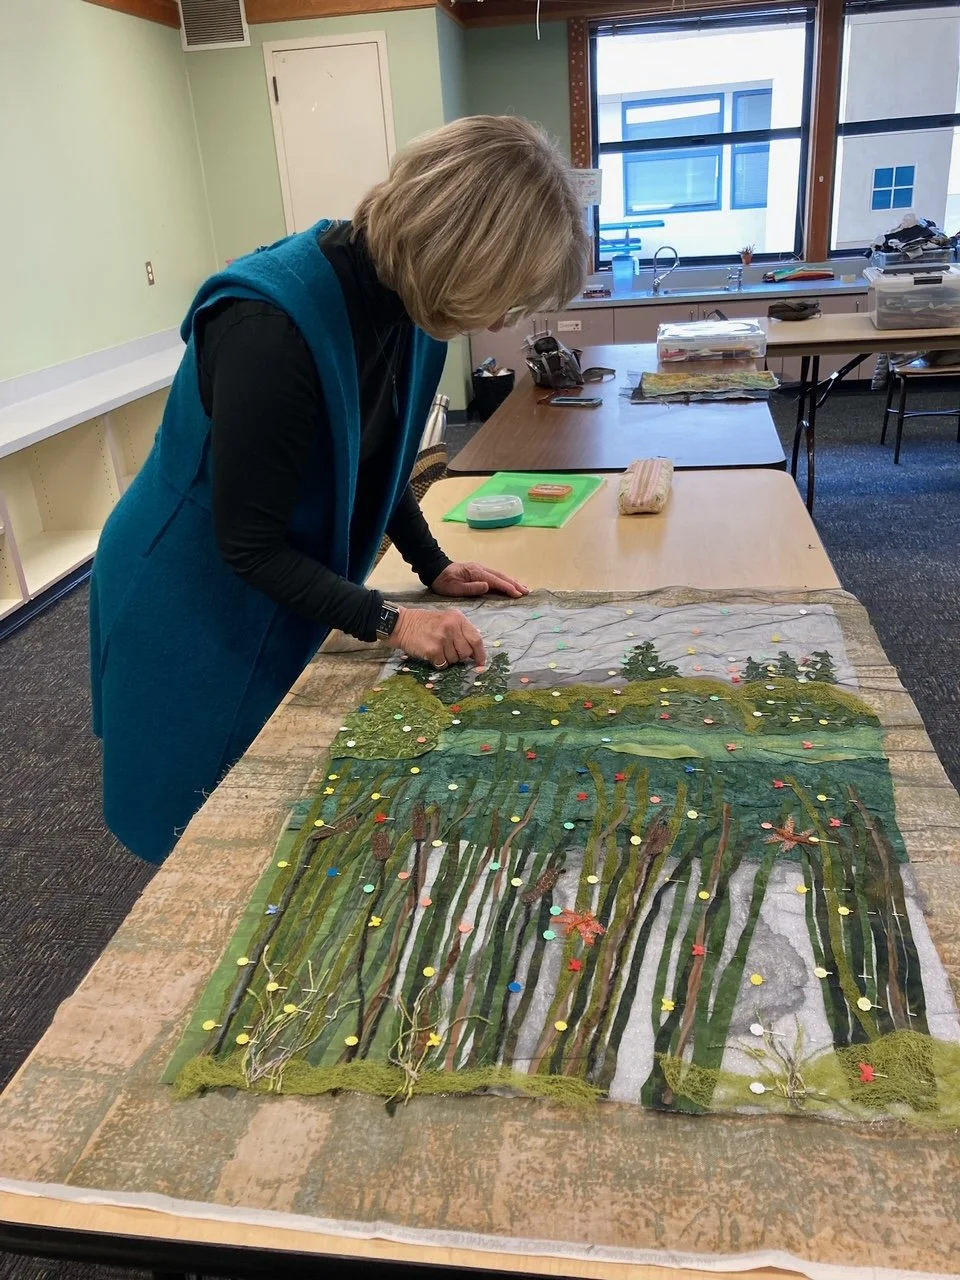
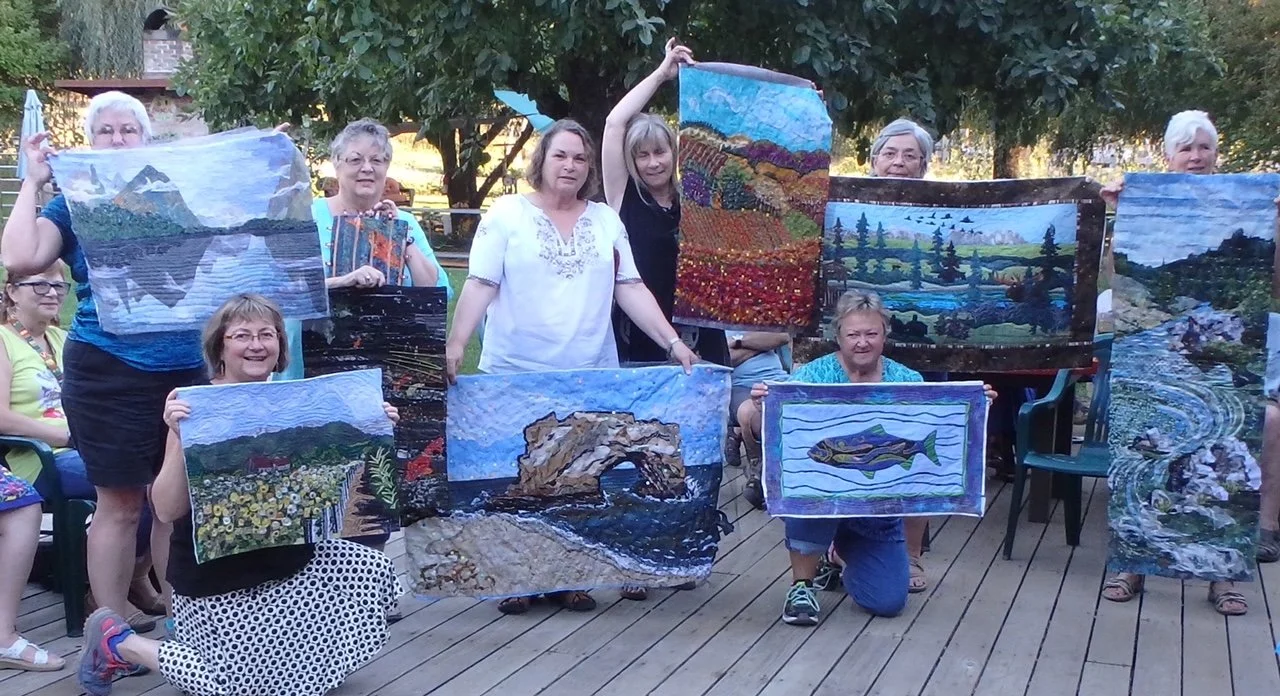
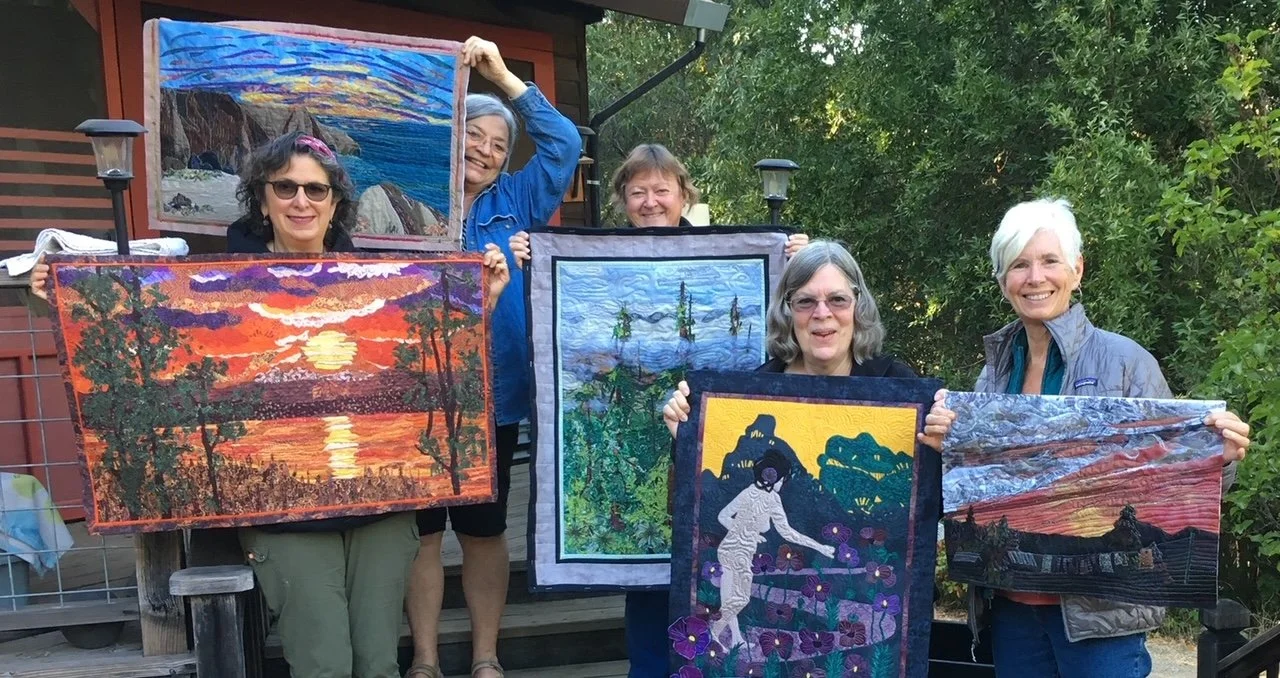
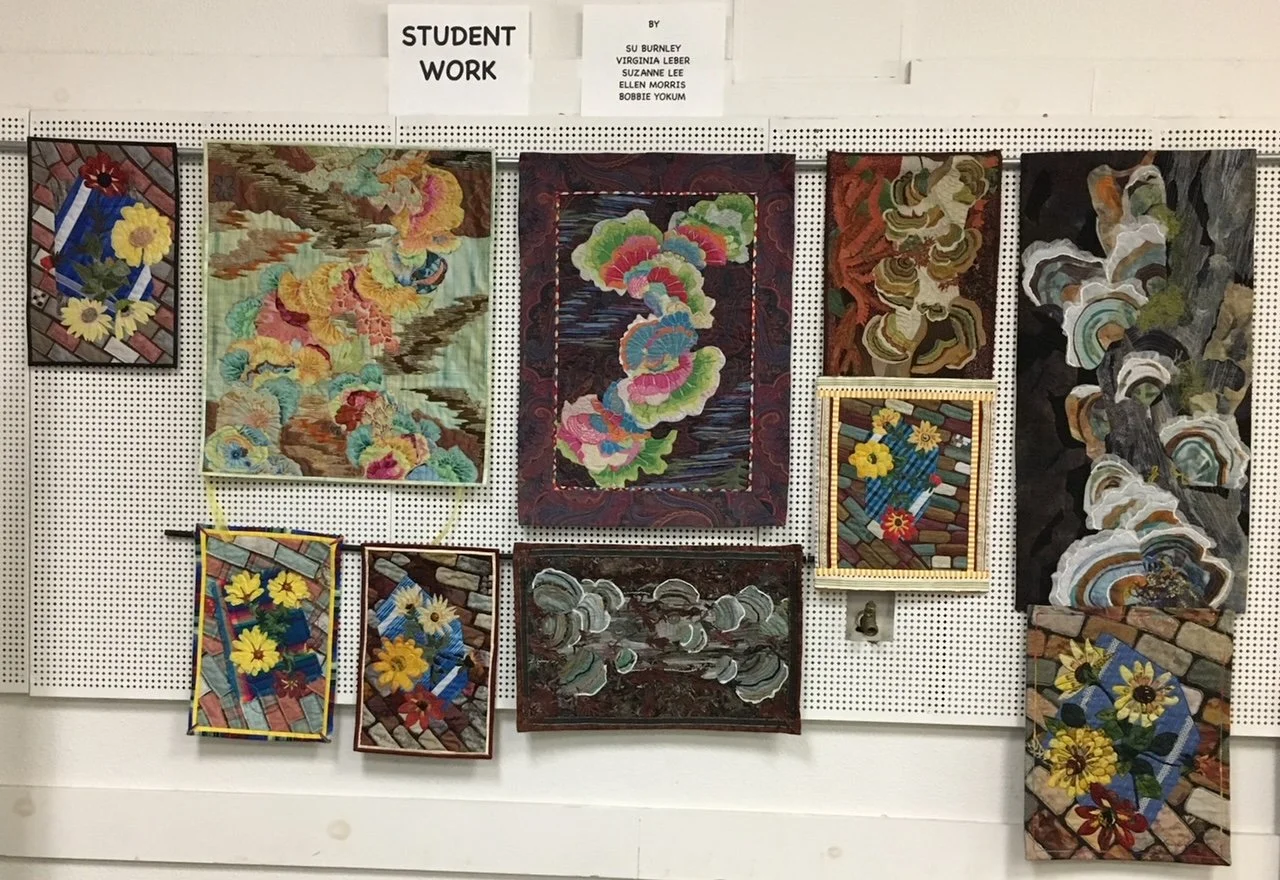
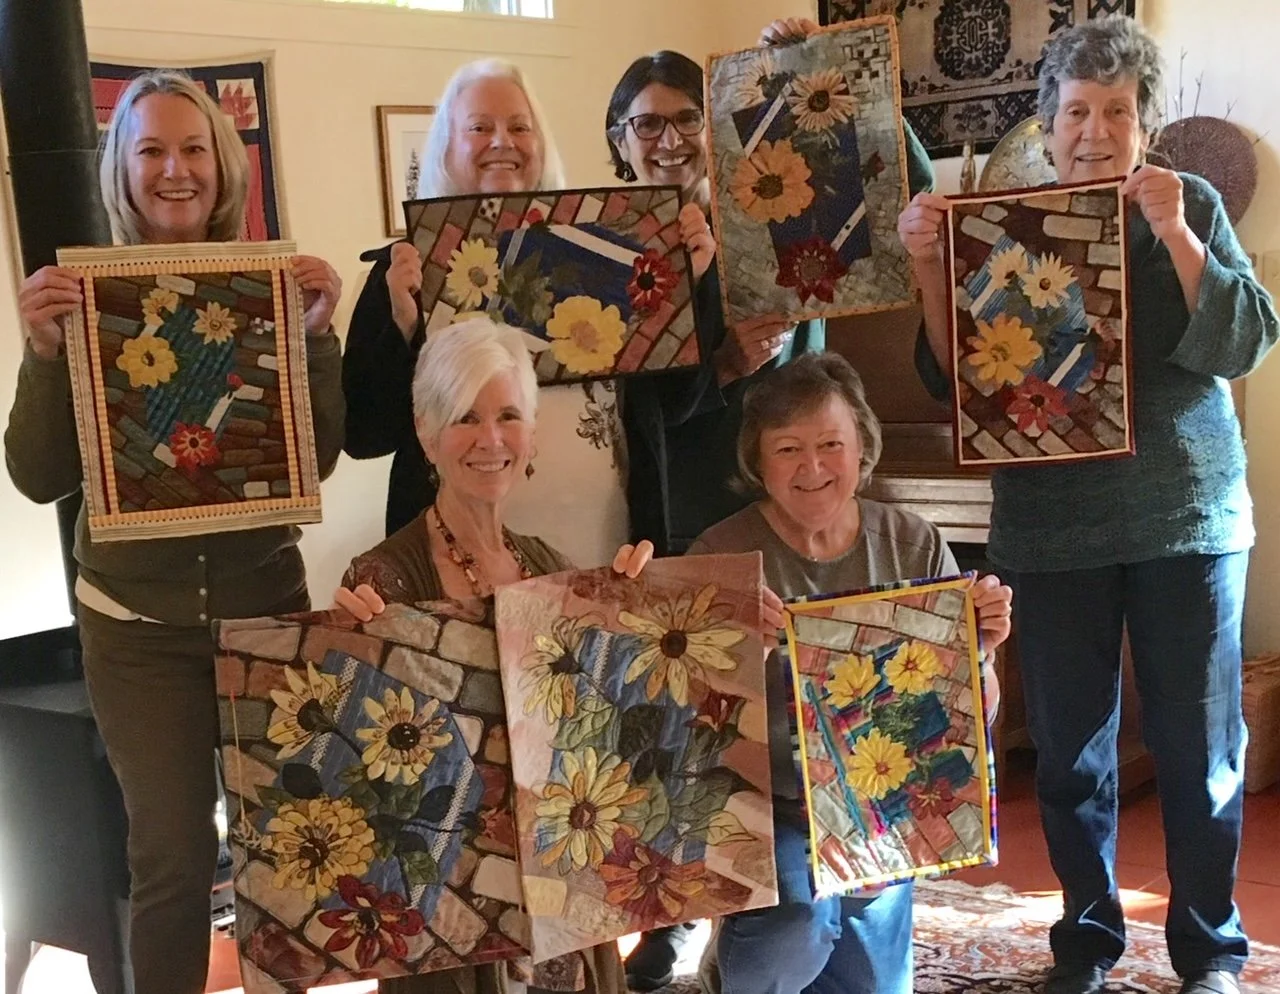
Expect this to be a fun, creative, beginner-friendly, out-of-the-box class. You do not need to have any quilting skills besides basic knowledge of how to do freehand machine quilting on your home sewing machine, nor do you need to be a recognized artist. You will discover the “artist within” as you play with the fabrics of your choice to create a small (approximately 18” x 24”) collage wall quilt.
Subject matter can be a landscape, a still life, a scene copied off a greeting card or even a fantasy scene… whatever moves you to want to create it in fabric. You will start with a photo of your chosen scene for inspiration and beyond that your own imagination is the limit. (One caution though… for beginners it is smart to avoid subjects that include complicated architecture such as houses or bridges. You will get frustrated trying to get the perspective and details “right.” It will be more fun to stick to nature scenes, where nothing you do can possibly be “wrong.”)
Basic technique is raw-edge fabric collage, where cut or torn pieces of fabric (and/or other materials) are layered and freely arranged to create as much or as little detail in your piece as you see fit. Nothing is pinned or sewn until you are happy with your design, so the stakes are low and the composition can be changed infinitely. There are no patterns, no directions, and no rules.
The piece you create in the first class can be machine quilted in class or at home and brought back for completion in the second day of this series of two classes. In the second class you will learn how to add borders and create dimensional foreground details in a slightly different raw-edge appliqué technique.
MATERIALS LIST FOR COLLAGE CLASS
Laura Fogg, Instructor
Please read this carefully and bring as much stuff as you possibly can! You will have more fun if you come set up with all the materials you need.
A photo (or several photos) of some subject that pleases you- this will be your inspiration for your project
Cotton backing fabric for a 18” x 24” (approximate) quilt
Several pieces of tulle that are a few inches larger than your project measurements (the very fine lightweight kind… NOT coarse netting)- bring several different colors so you can try them out over your collage and choose the one you like best.
Dark colors generally work best, unless you want a foggy or washed-out look
A piece of THIN batting that is big enough to fit your quilt (cotton, bamboo or wool)
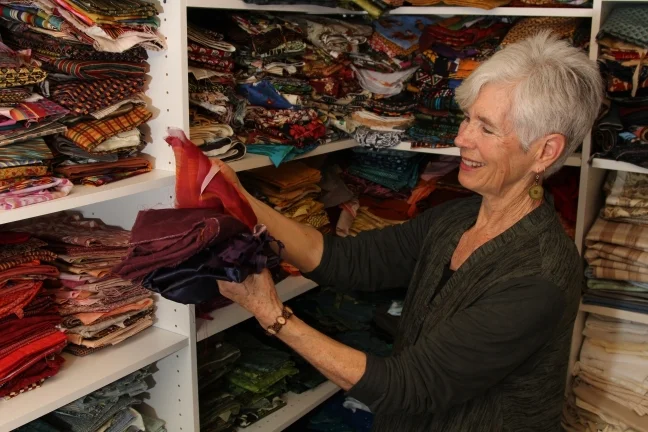
Lots of fabric- scraps are fine, but be sure to bring 6 or 8 fabrics in each color you think you might want to use. Include DARK darks and LIGHT lights. Remember... this is a collage and contrast is necessary for images to stand out!
Novelty fabrics- shiny, transparent, metallic, textured
Embellishments- any kind of threads, strings, ribbons, lace, yarn, novelty trims
Fabric scissors (rotary cutters are not necessary for this “freehand” style)
Dark chocolate to share
Lots of straight pins- the thin, glass-headed ones are best (I mean LOTS… like a whole big box full!)
Your own sewing machine and EVERYTHING that goes with it
A machine quilting or darning or stippling foot to do freehand quilting around the curving edges of your design elements
Quilting thread—I like to use variegated poly thread, but anything will do that blends with your fabric choices, except for metallic (too hard to use on a first project!)
Bobbin thread that will work with your backing fabric